How to Add and Use Physical Disks in Proxmox VE
This guide explains how to prepare, format, and attach physical disks /dev/sda and /dev/sdb to Proxmox VE for local storage usage.
1. Clean Existing Partitions from the Disk
Run to wipe previous partitions and meta
sgdisk --zap-all /dev/sda
sgdisk --zap-all /dev/sdb
Or alternatively:
wipefs -a /dev/sda
wipefs -a /dev/sdb
2. Create a New GPT Partition Table
Use parted to set a new GPT label:
parted /dev/sda mklabel gpt
parted /dev/sdb mklabel gpt
3. Create a Single Partition Covering the Whole Disk
parted -a optimal /dev/sda mkpart primary 0% 100%
parted -a optimal /dev/sdb mkpart primary 0% 100%
Check partitions:
lsblk /dev/sda
lsblk /dev/sdb
4. Format the Partitions (ext4 Example)
mkfs.ext4 /dev/sda1
mkfs.ext4 /dev/sdb1
5. Mount the Partitions
Create mount points and mount the disks:
mkdir /mnt/storage_sda
mkdir /mnt/storage_sdb

mount /dev/sda1 /mnt/storage_sda
mount /dev/sdb1 /mnt/storage_sdb
Add to /etc/fstab for automatic mounting:
/dev/sda1 /mnt/storage_sda ext4 defaults 0 2
/dev/sdb1 /mnt/storage_sdb ext4 defaults 0 2
6. Add Storage in Proxmox VE Web Interface
- Go to Datacenter → Storage → Add → Directory
- Set an ID (e.g.,
storage_sda) - Set the directory path (
/mnt/storage_sda) - Select content types (Disk image, ISO, Backup, etc.)
- Click Add
Repeat for /mnt/storage_sdb if needed.
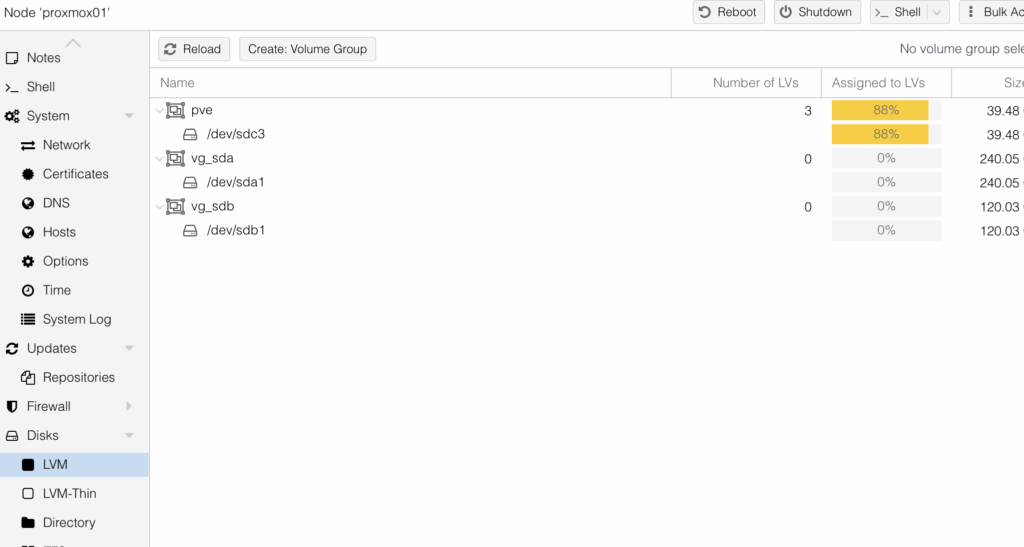
Optional: Use LVM or ZFS Instead
LVM Example
pvcreate /dev/sda1
vgcreate vg_sda /dev/sda1

pvcreate /dev/sdb1
vgcreate vg_sdb /dev/sdb1
Add storage as LVM in Proxmox, select VG name.
ZFS Example
zpool create pool_sda /dev/sda1
zpool create pool_sdb /dev/sdb1
Add storage as ZFS in Proxmox.
This guide covers the standard way to prepare and use physical disks with Proxmox VE. Contact for help with advanced configurations.